How to add or edit a user
Tebi allows you to enable fine grained access control for your employees. You can create users and assign a role to control what each user can access. Tebi allows you to add new users through the Tebi Back Office or the Tebi App. The Tebi support team will never add a new user to your ledger, this has to be done by the owner of the ledger.
Creating and managing users
In the Tebi Back Office:
- Log into the Tebi Back Office and go to Users.
- Click Create new user and fill in the fields:
- Name: enter a unique name for this user;
- Role: select the desired level of access this user will be granted in the app (see below the permissions granted to roles);
- PIN: enter a numeric-only PIN that the user will use to access the app on a tablet mobile device or terminal;
- Email address (not required): this allows the user to sign in on any device and log into the Tebi Back Office.
- Click Save.
Create Account
The user still needs to create an account with the same email address via the sign in page in order to activate the account.
In the Tebi App:
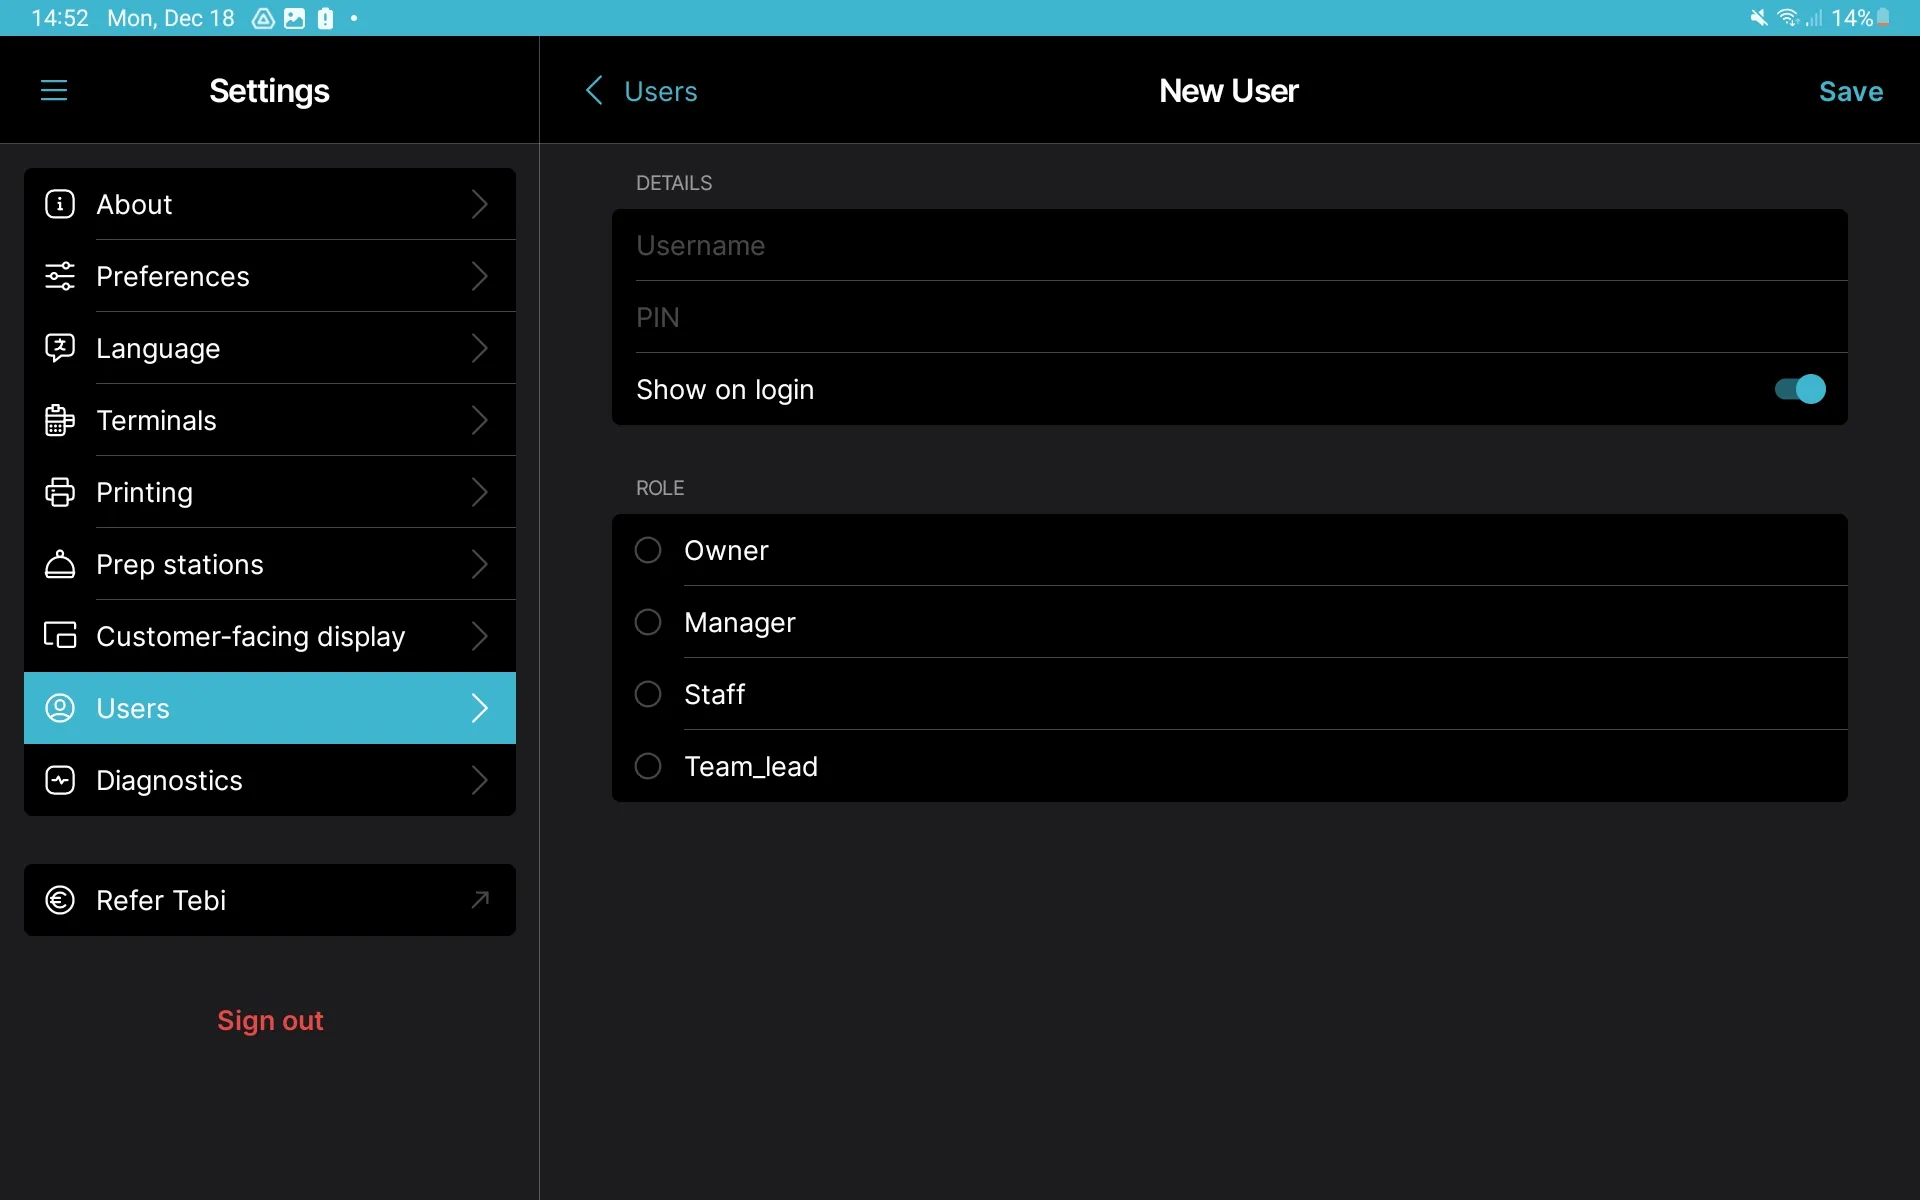
- Log into the Tebi App and go to Settings.
- Click on Users.
- In the top right corner click Add User + and fill in the fields:
- Username: enter a unique name for this user;
- PIN: enter a numeric-only PIN that the user will use to access the app on a tablet mobile device or terminal;
- The ‘Show on login’ toggle will make the user appear in the quick-select when starting your ledger;
- Role: select the desired level of access this user will be granted in the app;
- Note: you cannot enter an email address when creating a user in the Tebi App. If you would like to register an email address, allowing users to sign in on any device and log into the Tebi Back Office, go to the Users screen in the Tebi Back Office ast described above.
- Click Save.
View permissions granted to roles
Staff
- Create sales
- Initiate payments
- View products
- View and check in reservations
- View and manage orders in the Prep Station
- View and request payment for customer accounts
- Register cash movements
- Register cash drawer counts
- View customers
Team Lead (including above)
- Apply sale corrections
- Remove submitted products from sales
- Process refunds
- Apply discounts
- Apply service charges
- Create, update and delete customer profiles
- Charge to customer account
Manager (including above)
- Create and modify products
- Enable inventory and update inventory levels
- View Insights
- View Day Overview
- View and adjust Settings
- Create staff, team lead and manager users
- Setup up Tebi Reservations in the back office
- Setup QR Ordering in the back office
Owner (including above)
- Logout of the Tebi app
- Delete users
- Create owner users
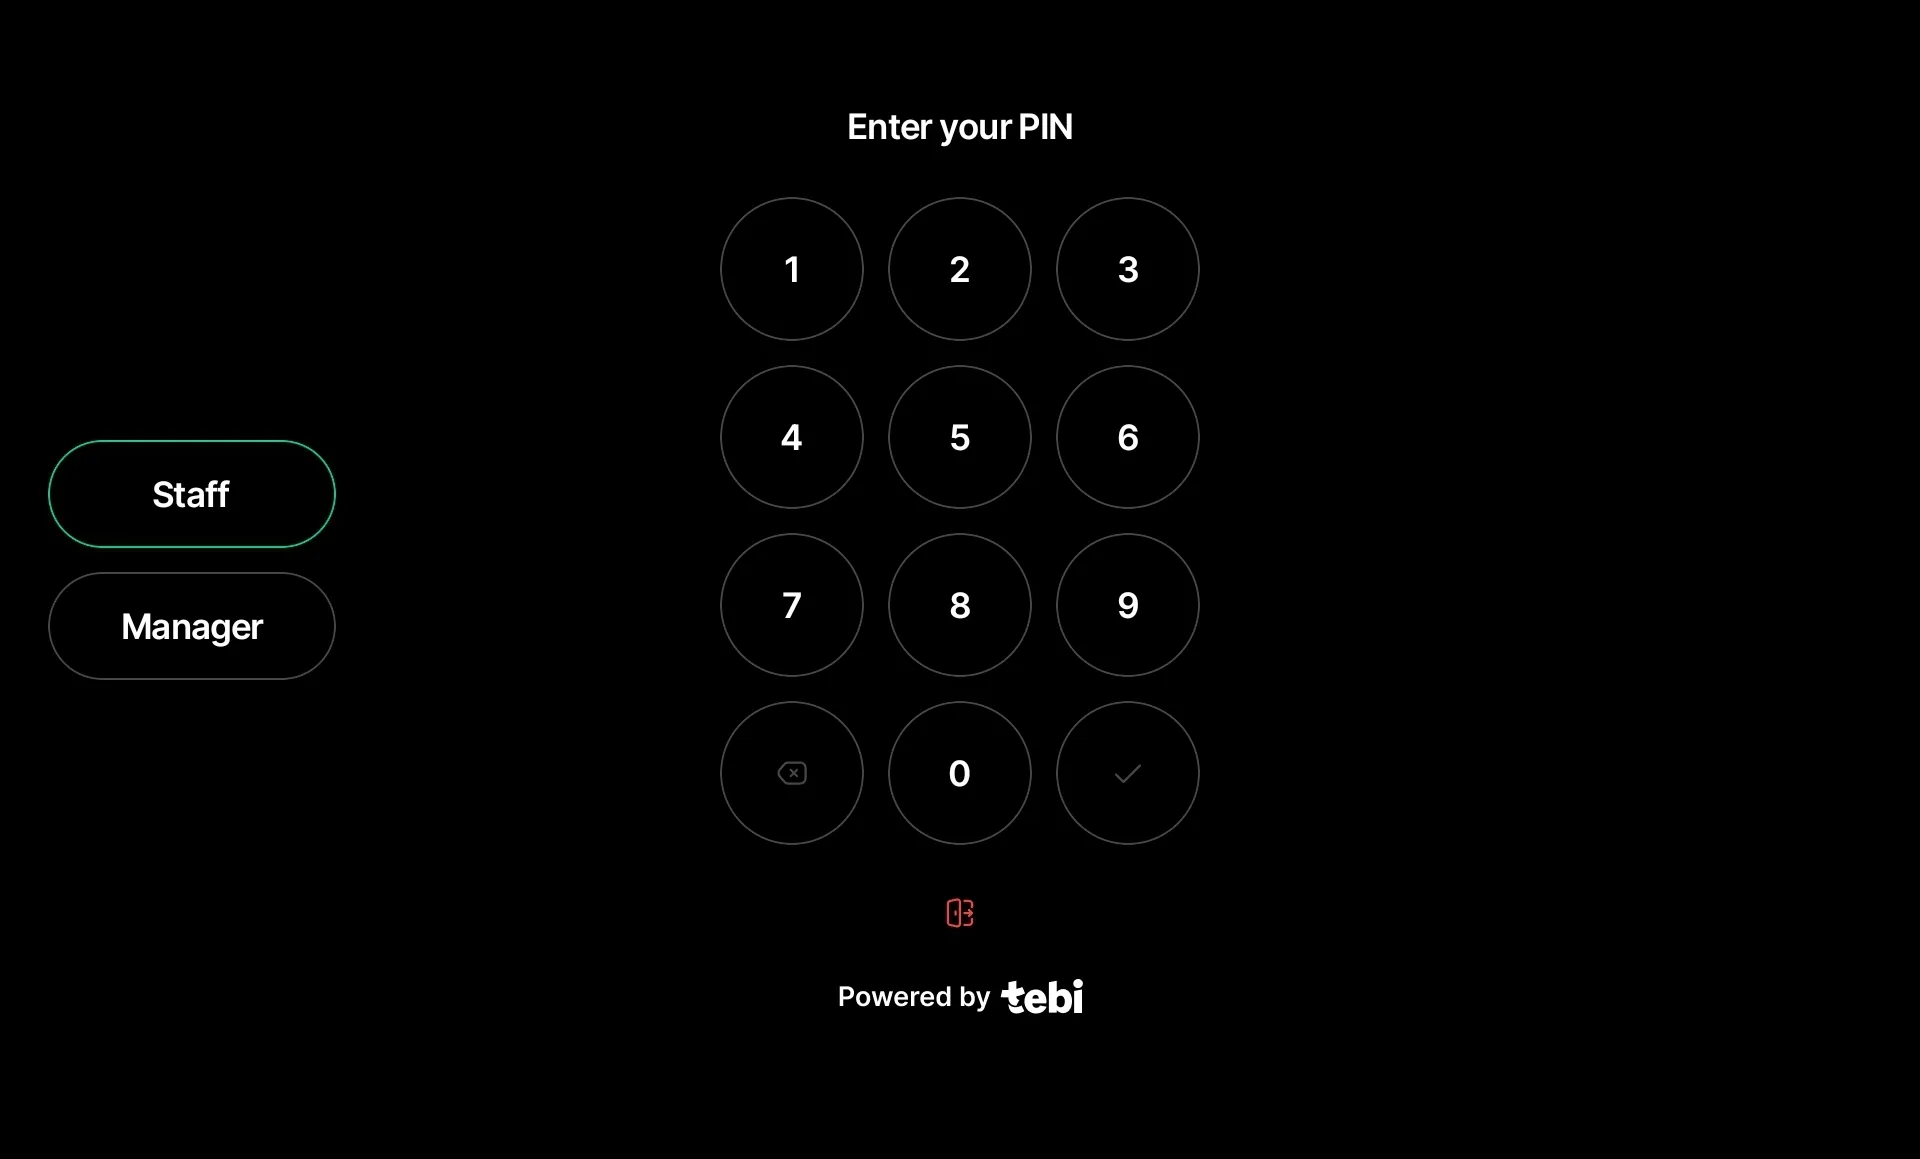
Logging In as a User
When starting your ledger, you will be presented with the user login screen. Favorited users will appear in the quick-select. Enter your username and PIN to start using the ledger:
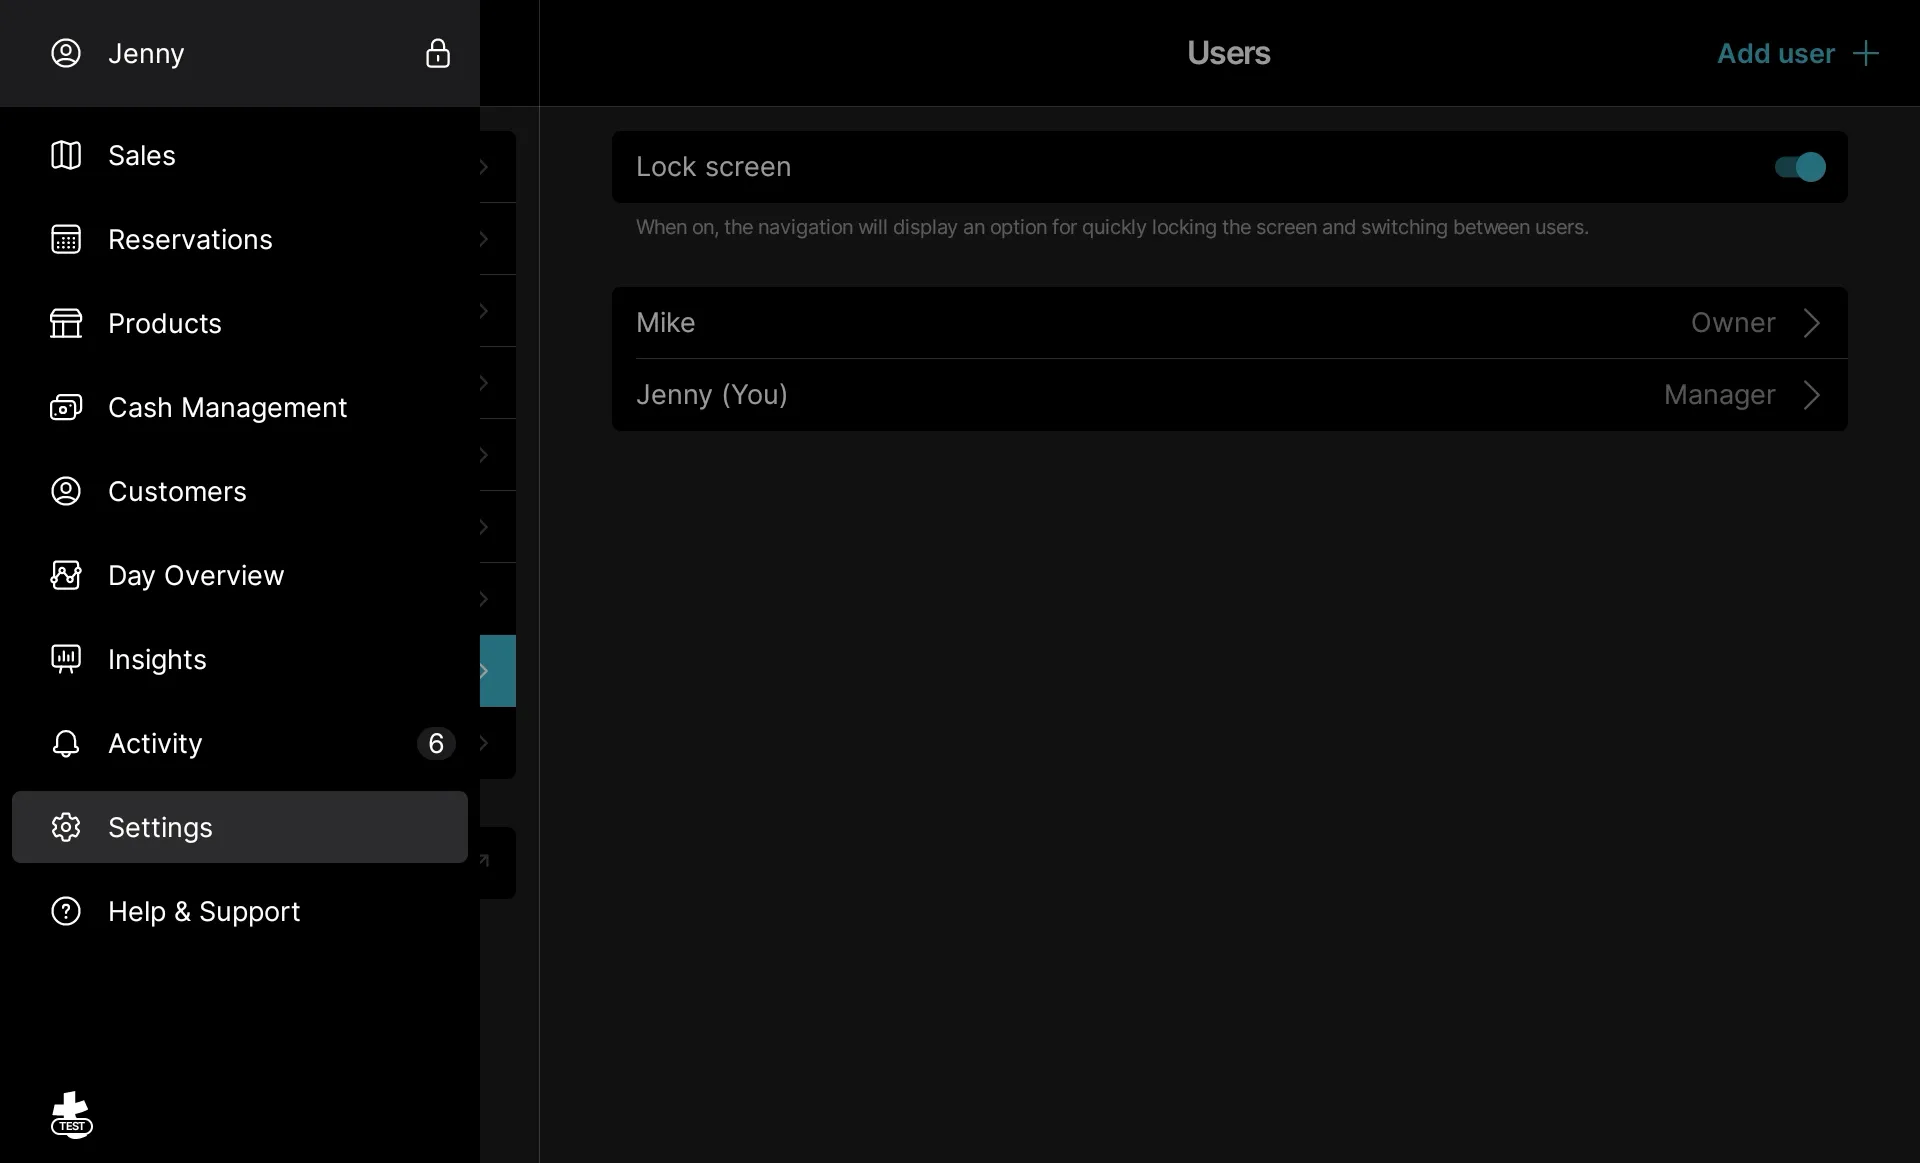
Switching Users
In the app, you have the option to turn on the Lock screen toggle. When on, the navigation will display an option for quickly locking the screen and switching between users. You can do that in the Menu (≡) of the app:
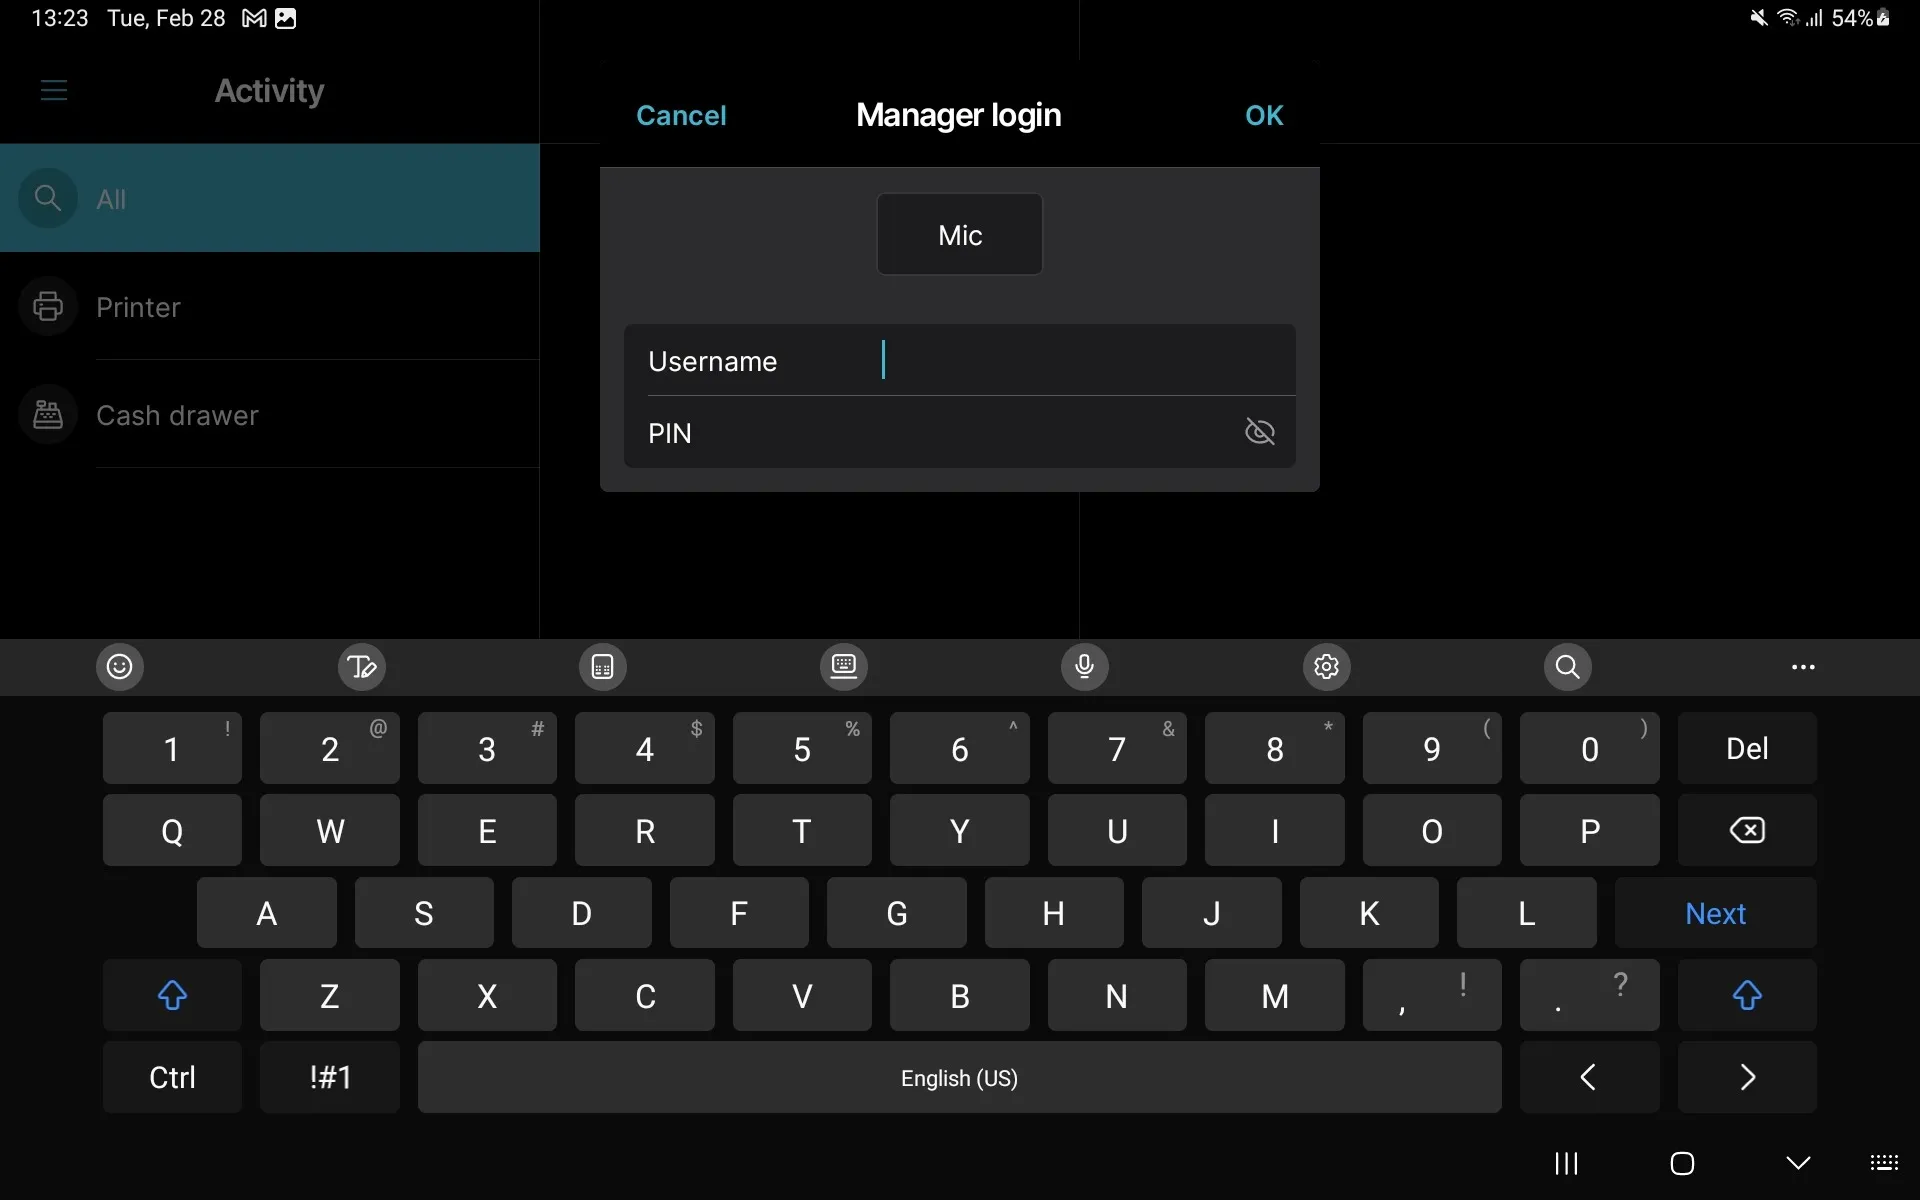
Allowing Temporary Access
When a user does not have access, another user who has access can temporarily grant permission to that particular feature. This prompt occurs anytime a user attempts to access a feature he or she does not have permission for. When the user finishes using that feature, they lose their temporary access:
Give your accountant access
You can give your accountant access to all of the reporting and financial data by creating a user with the Owner role. Your accountant will also have to create an account with the same email address via the sign in page in order to activate the account.